Your first agent
In this tutorial you build Agents on your Mac, give it a small project with a failing test, and ask an agent to fix it. You answer the agent's questions as it works, and at the end you read what it changed. It takes about fifteen minutes, most of it the first build.
What you'll have at the end: a finished agent, its fix in your project, and a feel for how every agent in the app works.
Before you start
- A Mac with Xcode installed.
- One coding agent signed in on this Mac. This tutorial uses Claude Code, signed in
with
claudeand/loginin Terminal. The app talks to Claude through a small adapter: it runs it with your own Node if you have one, and otherwise installs its own copy in step 1. Codex, Gemini, Antigravity, Grok, Copilot and Cursor work too; see Runtimes for what each needs.
1. Build and open Agents
Agents is built from its source. In Terminal:
brew install xcodegen
git clone https://github.com/alexec/Agents.git
cd Agents
xcodegen generate
open Agents.xcodeproj
In Xcode, choose the Agents scheme with My Mac as the destination, and choose Product ▸ Run. The first build takes a few minutes.
The first time it opens, a sheet called Install your agents lists every runtime the app knows and whether it is on this Mac. If Claude's row says Not on this Mac, click Install on it and wait for it to finish. You need none of the others for this tutorial. Click Done (or Not now); the sheet comes back only for a runtime it has not offered before, and the same rows are in Settings ▸ Agent Runtimes.
You should see the Agents window, saying No projects yet. If it says No agent runtime found instead, nothing it can run is installed: install Claude from the row under it, or from Settings ▸ Agent Runtimes.
2. Make a project to work on
A project is a folder you work in. For this tutorial, make a small one with a bug in it: a weather forecast that converts Fahrenheit to Celsius the wrong way round. In Terminal:
mkdir -p ~/Demo/weather-app/Sources/Weather ~/Demo/weather-app/Tests/WeatherTests
cd ~/Demo/weather-app

cat > Package.swift <<'EOF'
// swift-tools-version:5.9
import PackageDescription

let package = Package(
    name: "Weather",
    targets: [
        .target(name: "Weather"),
        .testTarget(name: "WeatherTests", dependencies: ["Weather"]),
    ]
)
EOF

cat > Sources/Weather/Forecast.swift <<'EOF'
public struct Forecast {
    public var day: String
    public var highF: Double
    public var lowF: Double

    public init(day: String, highF: Double, lowF: Double) {
        self.day = day
        self.highF = highF
        self.lowF = lowF
    }

    /// The high in Celsius.
    public var highC: Double {
        (highF - 32) * 9 / 5
    }
}
EOF

cat > Tests/WeatherTests/ForecastTests.swift <<'EOF'
import XCTest
@testable import Weather

final class ForecastTests: XCTestCase {
    func testHighInCelsius() {
        let monday = Forecast(day: "Monday", highF: 212, lowF: 50)
        XCTAssertEqual(monday.highC, 100, accuracy: 0.01)
    }
}
EOF

git init -q && git add -A && git commit -qm "First version"
3. Add it to Agents
In the Agents window, click Add Project… in the empty project list (once you have
projects, it is File ▸ Add Project…), and pick
weather-app in your Demo folder.
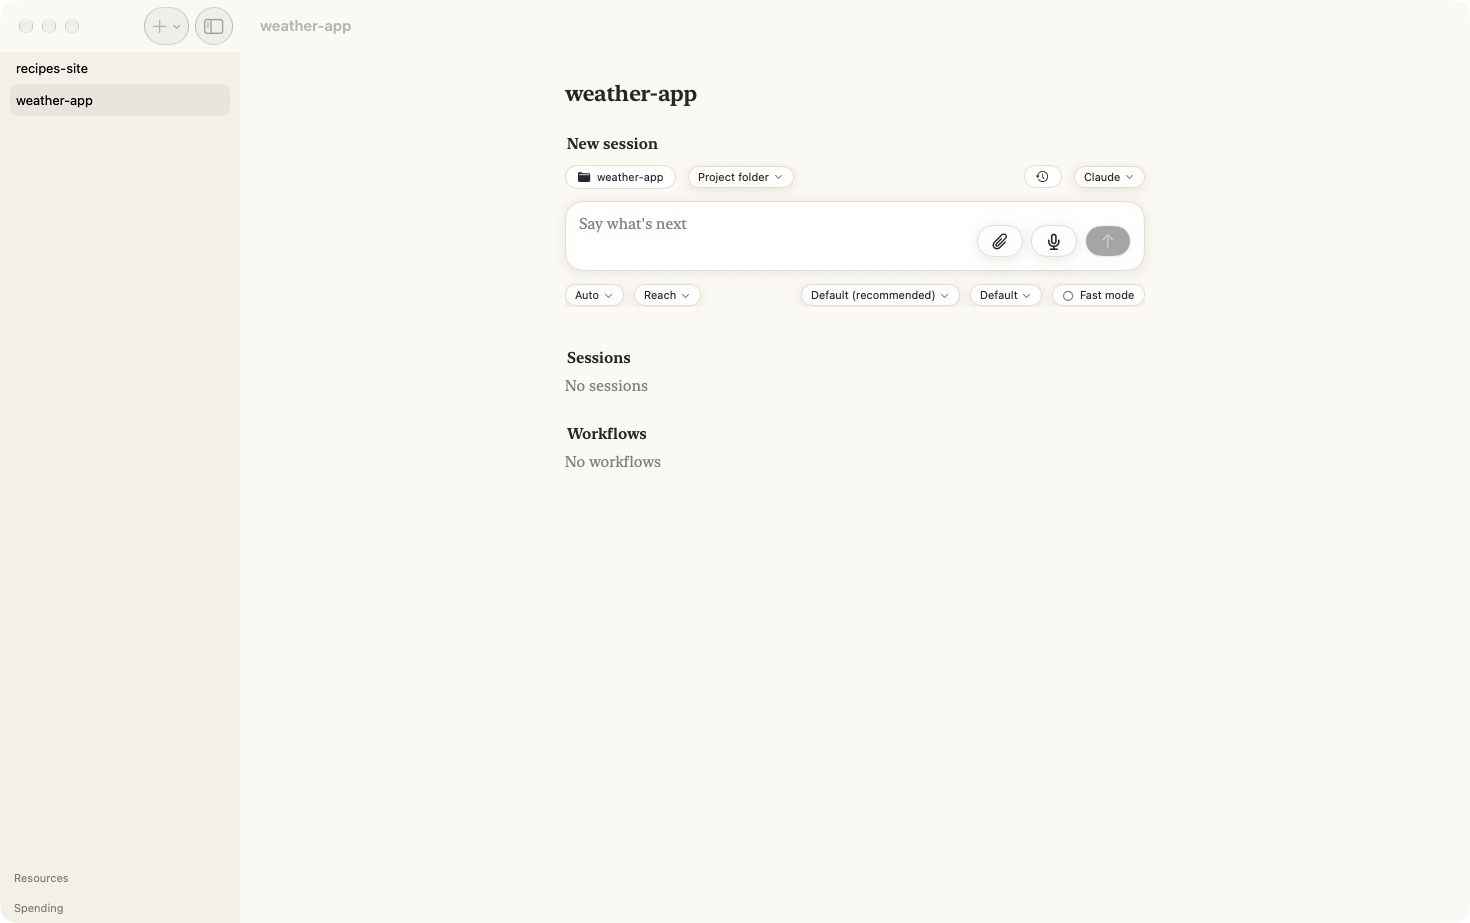
You should see weather-app in the list on the left, and beside it an empty new session:
the project's name in the middle, and the prompt at the bottom.
4. Start the agent
The runtime is on the right, above the prompt. It should say Claude. If you have not
signed Claude Code in on this Mac yet, do it now in Terminal: run claude, type /login,
and follow what it asks. To check, click Claude above the prompt and choose Sign in,
sign out, providers…: the sheet names the account you are signed in with. Then come back
here.
Click in the prompt, where it says What do you want to do?, type:
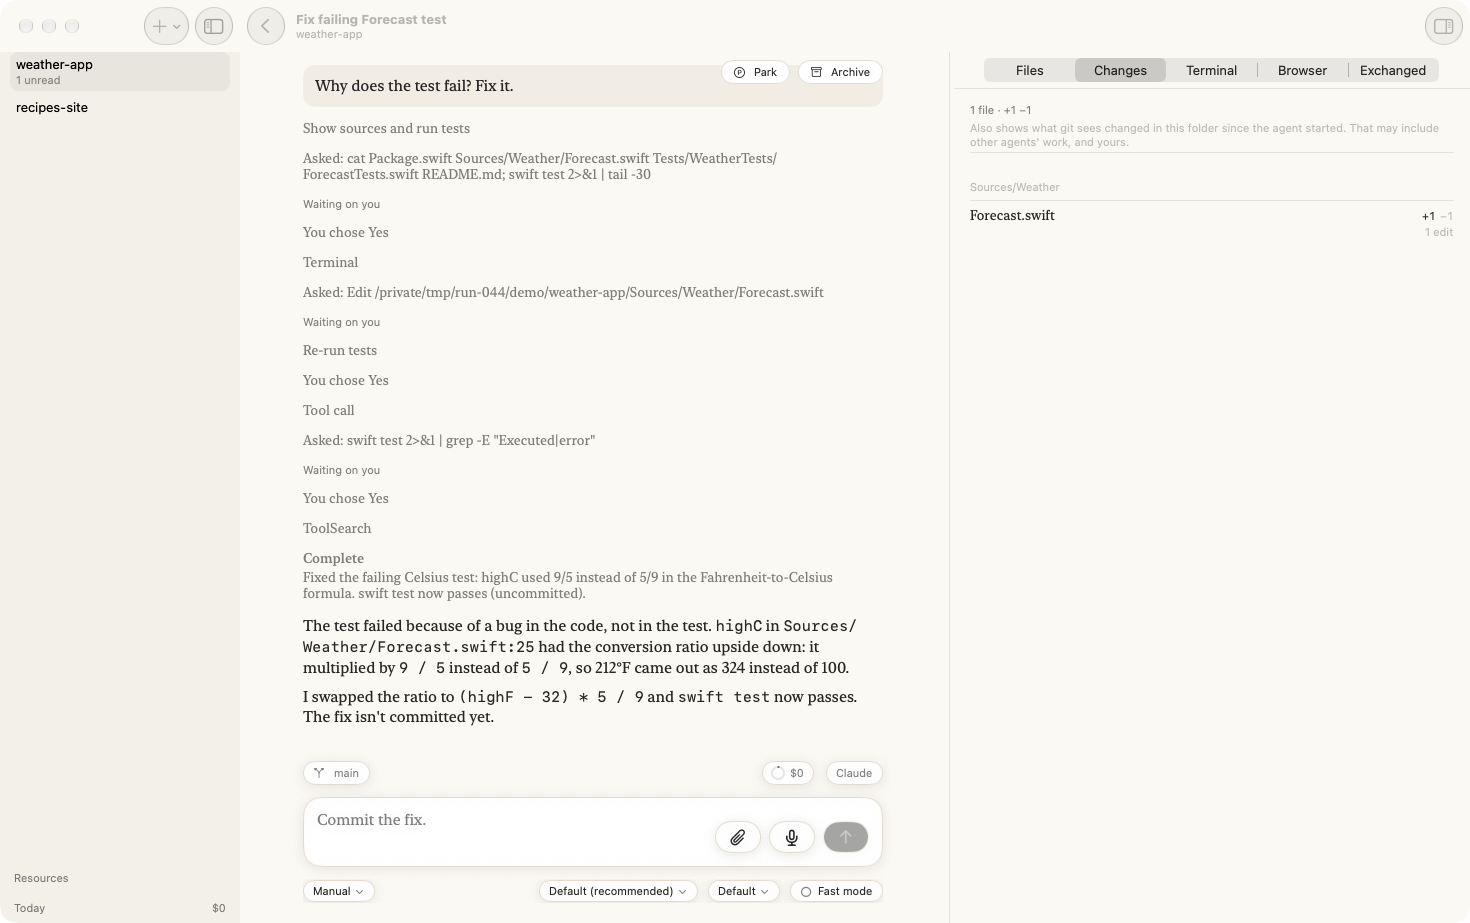
Why does the test fail? Fix it.
and press Return.
You should see the conversation open, with your question at the top and the agent's first steps appearing under it.
5. Answer its questions
Before the agent runs a command or changes a file, it asks you. A card appears above the prompt, naming what it wants to do.
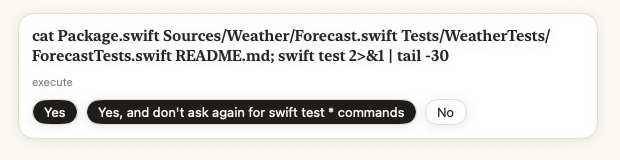
Click Yes. It will ask two or three times: to read the files and run the tests, to
edit Forecast.swift, and to run the tests again. Click Yes each time.
While it waits for you, the project in the list says Needs you. That is how you know an agent wants you, even when you are looking at something else.
6. Read what it did
When the agent has finished, it says Complete with a one-line summary, then explains what was wrong and what it changed.
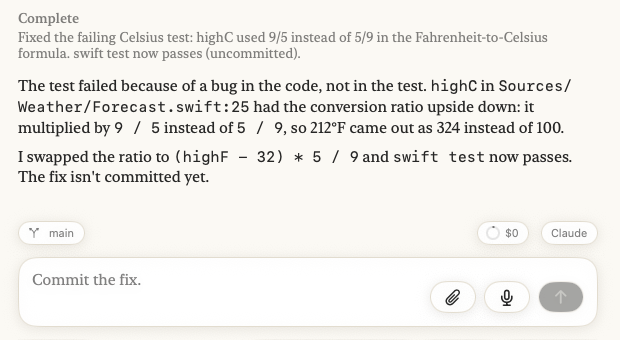
On the right, Changes lists the one file it edited. Click Forecast.swift to see
the line it changed. Above the prompt, the agent suggests what you might say next, such
as Commit the fix. You can take it, change it, or ignore it.
7. Find it again
Click the back arrow at the top of the conversation.
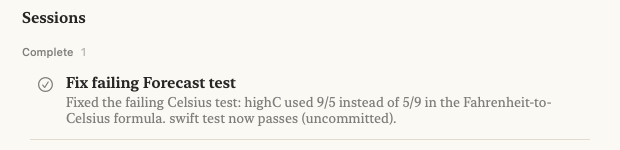
You should see the agent on the project's page under Done, named for what it did, with its summary under the name.
That is the whole loop: ask, answer, read. Every agent in the app works this way, whether it runs for a minute or an afternoon.
Where next
- Follow your agents from your iPhone, the next tutorial.
- Start an agent in its own worktree, so two agents in one project do not change the same files.
- Read an agent's changes, file by file and word by word.
- Why agents keep working when the window is closed.